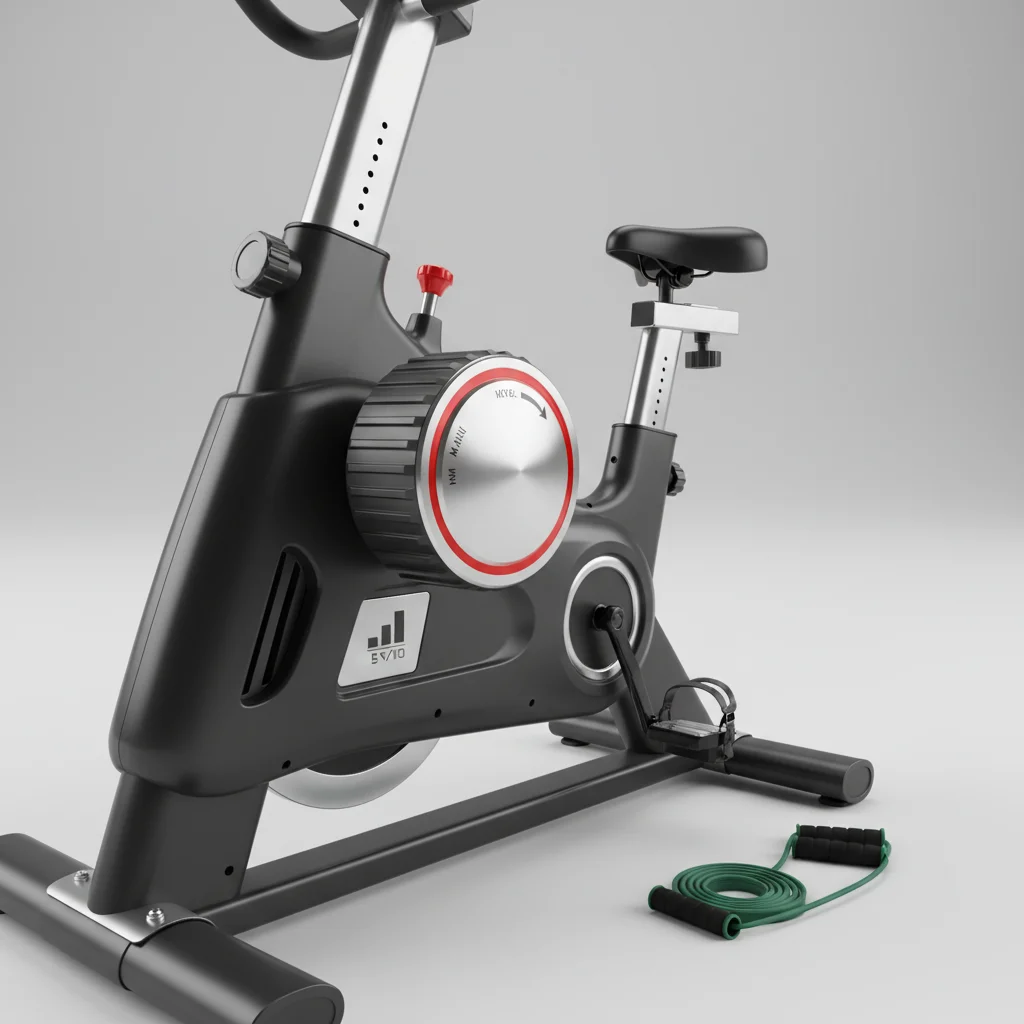
Adjusting your exercise bike resistance is crucial for optimal workouts, allowing you to target different muscle groups and achieve specific fitness goals. Most bikes offer between 8 and 32 resistance levels, with magnetic systems providing the smoothest transitions and most precise control.
Understanding Resistance Types
There are primarily three types of resistance mechanisms in home exercise bikes: friction, magnetic, and air. Friction resistance, often found in older or more budget-friendly models, uses pads that press against the flywheel. While effective, it can be noisy and requires more maintenance. Magnetic resistance, the most common type, uses magnets to create drag on the flywheel without physical contact, offering a quiet and smooth ride. Air resistance bikes use a fan that spins as you pedal, with resistance increasing as you pedal faster, providing a dynamic workout.
Each resistance type has its advantages. Magnetic resistance is ideal for quiet, consistent workouts, while air resistance is excellent for high-intensity interval training (HIIT) due to its responsive nature. Understanding your bike’s specific mechanism will help you make the most of its capabilities.
Manual vs. Digital Resistance Adjustment
Exercise bikes typically feature either manual or digital resistance adjustment. Manual systems often involve a knob or lever that you turn to increase or decrease the resistance. This method is straightforward and reliable, though it may lack the precision of digital controls. Digital resistance, common on more advanced bikes, allows you to adjust levels with buttons on the console, often displaying the exact resistance level on a screen. Some high-end models even offer automatic resistance changes as part of pre-programmed workouts.
For beginners, a manual system can be simpler to grasp, while experienced riders might appreciate the granular control and automated features of digital systems. Consider your comfort level and workout preferences when choosing a bike.
Optimizing Resistance for Different Workouts
|
Our Picks for the Best Exercise Bike in 2026
As an Amazon Associate I earn from qualifying purchases.
|
||
| Num | Product | Action |
|---|---|---|
| 1 | Exercise Bike, Magnetic Resistance Stationary Bikes for Home with App Compatible, Silent Indoor Cycling Bike with 350lbs Weight Capacity Comfortable Seat, Digital Monitor & Phone Mount |

|
| 2 | Indoor Exercise Bike for Seniors, 5 IN 1 Foldable Stationary Bike with 16-Level Magnetic Resistance and Tri-Position Ride, 330LBS Capacity, 6.6 LBS Flywheel, for Home Workout 818 Gray |
|
| 3 | Exercise Bike, Adjustable Magnetic Resistance Stationary Bikes for Home Cardio with Exclusive App, Indoor Bike with 330lbs Weight Capacity Comfortable Seat, Tablet Mount and Fitness Courses |
|
| 4 | Exercise Bikes for Home,Indoor Cycling Bike with Adjustable Magnetic,Brake Pad Resistance Silent Belt Drive,330lbs Weight Capacity &Upgraded Version Seat for Home Cardio&Weight Loss |
|
| 5 | RELIFE REBUILD YOUR LIFE Exercise Bike Stationary for Home Indoor,Cycling Bike with Silent Belt Drive for Home Cardio,Brake Pad Resistance with djustable & Comfort Seat/PAD Holder/LCD Monitor. |
|
| 6 | Exercise Bikes for Home,Indoor Cycling Bike with Adjustable Friction,Brake Pad Resistance Silent Belt Drive,330lbs Weight Capacity &Upgraded Version Seat for Home Cardio&Weight Loss |
|
| 7 | Exercise Bike for Home – 350LB Magnetic Resistance Indoor Cycling Bike, Silent Stationary Spin Bike with App Sync, Adjustable Seat, LCD Monitor, Smooth & Quiet for Cardio Workout |
|
| 8 | Exercise Bike, Wenoker Magnetic Stationary Bike for Home App Sync Indoor Bike with Adjustable Seat and Handlebar, Transport Wheels and Fitness Courses for Weight Loss |
|
| 9 | MERACH Exercise Bike, Brake Pad Stationary Bike with Exclusive App, Low Noise Indoor Cycling Bike with 300lbs Weight Capacity, Tablet Mount and Fitness Courses for Weight Loss |
|
| 10 | Exercise Bike, Wenoker Stationary Bike for Home, App Supported Indoor Bike with Silent Belt Drive, Heavy Flywheel, Multi-grips Handlebar and Upgraded Digital Display |
|
Varying your resistance is key to a well-rounded exercise routine. For warm-ups and cool-downs, use a very low resistance to get your muscles ready and then to recover. For endurance training, aim for a moderate resistance that allows you to maintain a steady pace for an extended period, typically 20-60 minutes. If you’re focusing on strength building, increase the resistance significantly, making each pedal stroke challenging but still manageable for shorter intervals. HIIT workouts demand rapid changes between very low and very high resistance levels.
Experiment with different resistance settings to find what feels right for your body and your fitness goals. Don’t be afraid to push yourself, but always listen to your body to prevent injury.
Troubleshooting Resistance Issues
If your exercise bike’s resistance isn’t working correctly, several factors could be at play. For friction bikes, worn-out brake pads are a common culprit; these may need replacement. Magnetic bikes might have issues with the magnet assembly or the control cable connecting to the console. Air bikes could have debris obstructing the fan or issues with the damper mechanism. Always consult your bike’s user manual for specific troubleshooting steps.
Regular maintenance, such as checking cables and cleaning components, can prevent many resistance problems. If you’re unsure, a professional technician can diagnose and fix more complex issues.
Tips for Effective Resistance Training
- Start with a low resistance and gradually increase it as your fitness improves.
- Incorporate interval training by alternating between high and low resistance.
- Maintain good posture to maximize the effectiveness of your workout.
- Use a heart rate monitor to ensure you’re training in the correct zones for your goals.
- Don’t forget to cool down with very low resistance to aid recovery.
By mastering the art of resistance adjustment, you can significantly enhance your exercise bike workouts, leading to better fitness outcomes and a more engaging experience.

I always wondered about the difference between the 8 and 32 resistance levels some bikes have. My bike has about 16 levels, and understanding how to use them to vary my intensity has made my rides way more engaging. I’ve been experimenting with interval training based on the resistance types and it’s been a great way to push myself without getting bored. Thanks for the clear breakdown!
This really helped me understand why my air resistance bike feels so different from my friend’s magnetic one. I love that the resistance increases as I pedal faster, it really makes for a dynamic workout that keeps me challenged. I used to just think it was ‘harder’ but now I get the mechanics behind it and can use that to my advantage for better cardio sessions. Super helpful!
I used to just hop on my bike and pedal, but after reading about how to really adjust the resistance, my workouts have totally changed. I have a magnetic resistance bike and the tips here for using those smoother transitions to my advantage were spot on. I’m finally feeling like I’m getting a much more targeted workout and seeing better results. Definitely a game changer for my home routine!
My older friction resistance bike is definitely on the noisier side, which was mentioned. I tried some of the maintenance tips for it, but it’s still pretty loud, especially when I crank up the resistance. It gets the job done for now, but I’m definitely saving up for a magnetic one like the post suggested for a quieter ride. Good info, just wish my current bike was better.